
I use the Windows Hosts file while migrating servers, and I need to test that my site is working correctly on another IP address before making the changes to the DNS servers. Unfortunately, most tutorials tell you to modify the Hosts file using Notepad, which is dangerous because you can easily make syntax errors and break stuff. But thanks to Microsoft’s PowerToys tool, you can safely edit the Hosts file without opening Notepad and activating or deactivating rules.
Here’s a tutorial on how it works.
1: Download and Install Windows PowerToys
Microsoft’s official PowerToys tool is a fantastic app that I always use, and I particularly love the PowerToys Run tool that I use instead of the Windows start menu button. Amongst the many utilities, it also includes a Hosts file editor that sanitizes the dangerous task of modifying a key text configuration file.
You can install PowerToys in two ways;
- Using the Microsoft Store PowerToys app
- Download the .exe file from the GitHub page under “Assets”
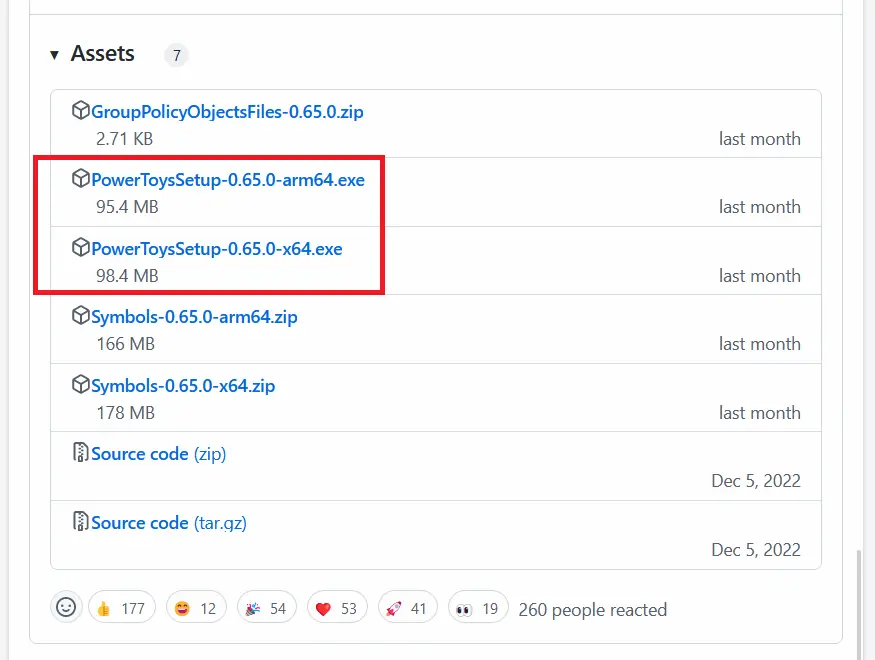
Install the EXE file, and you’re done.
2: Launch the Hosts File Editor in Windows PowerToys
Launch Windows PowerToys, and on the right-hand side, click the “Hosts File Editor” as shown here:
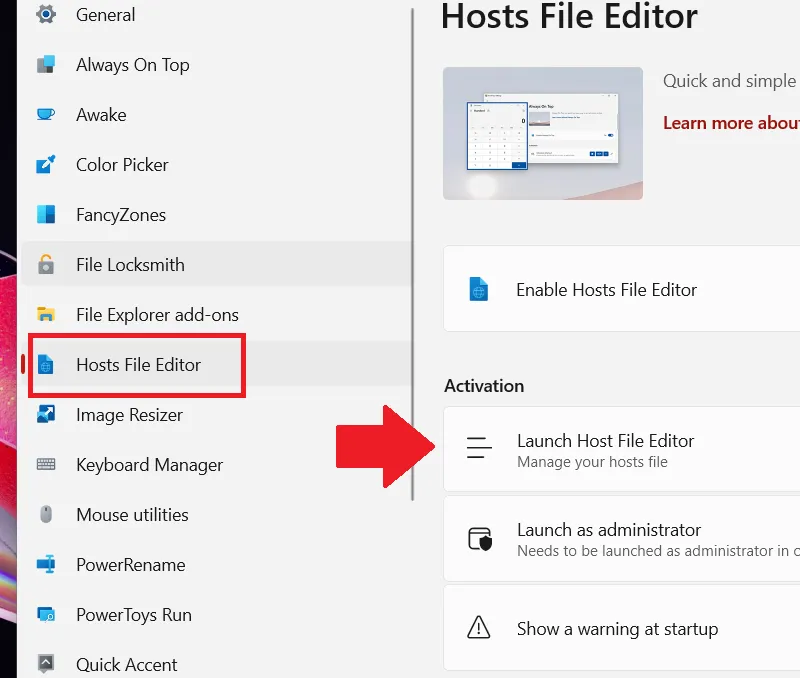
Not all PowerToys modules are enabled by default, so first, ensure that the “Enable Hosts File Editor” toggle is enabled, and then click “Launch Host File Editor” as shown above.
3: Safely Edit your Hosts File
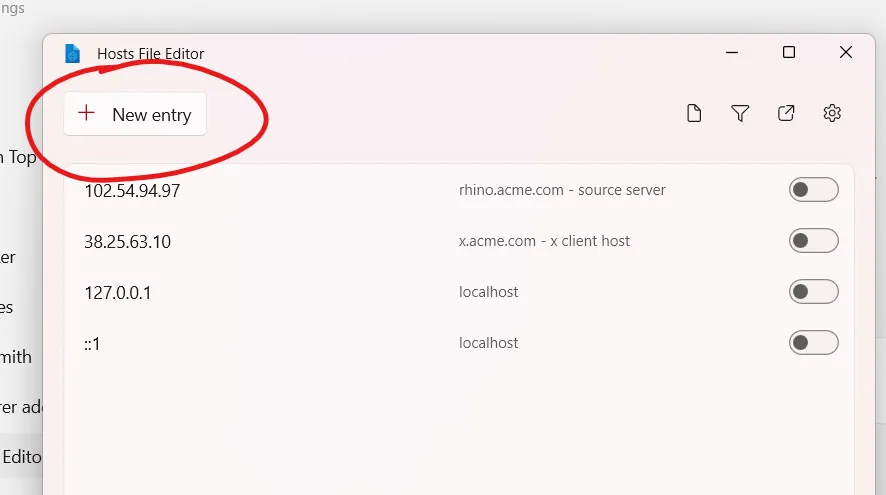
In the dialog box, you’ll see a list of entries that already exist in the Hosts file, and you can enable or disable them accordingly. If you’re doing this for the first time, then click the “New Entry” button on the top as shown here:
This will create a new form to associate an IP address with a domain name. In this example, I’m using my website name wp-tweaks.com and a random IP address:
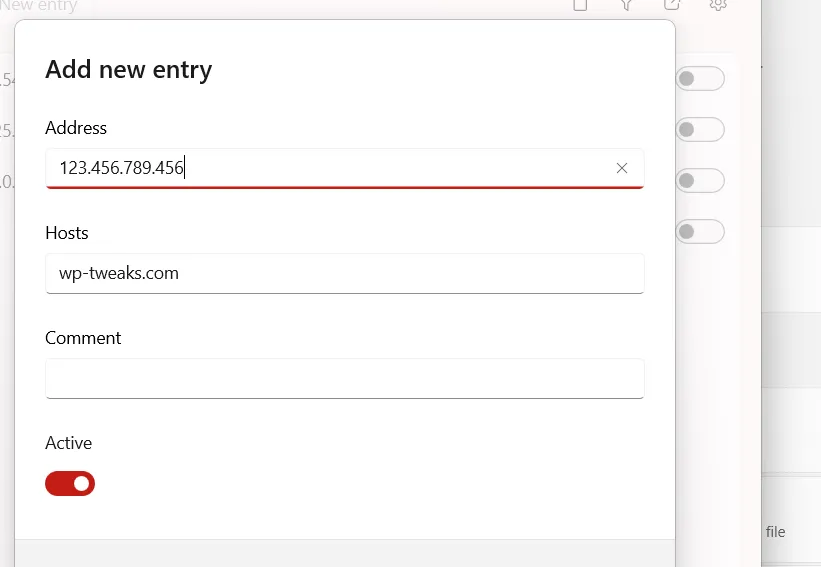
Once you’re done, click the “Add” button, ensure your new Hosts entry is enabled, and you’re done! Once you’re through testing, repeat the above steps and disable the entry you created. No more messing around with Notepad, no worries of accidentally breaking stuff, and no need to navigate through complex folder structures to access the Hosts file.
As a bonus, you can now use the Windows PowerToys tool to spruce up your PC workflow. I highly recommend it!
Speak Your Mind