
When you upload an image to WordPress, you can choose the image size from a drop-down from the media section. There are typically a few predefined sizes. Namely:
- Thumbnail (150×150)
- Medium (325×225)
- Large (1024×766)
There might be some others as defined by your theme or plugins. You often want a specific image dimension that fits well with your theme. It isn’t always easy to crop them in advance because of the different ways that screen DPIs function. What might be a reasonable size on your screen (a high DPI device like Microsoft’s Surface, for example) could turn out to be huge when finally uploaded onto your site. As a result, you might need to resize your images to custom dimensions constantly.
Old Way – Forced to Use a Custom Size
Under normal circumstances, unless your desired image size matches one of the options in the drop-down box, you’re forced to manually enter a custom image size in the Gutenberg editor. Here’s a screenshot showing the standard sizes.
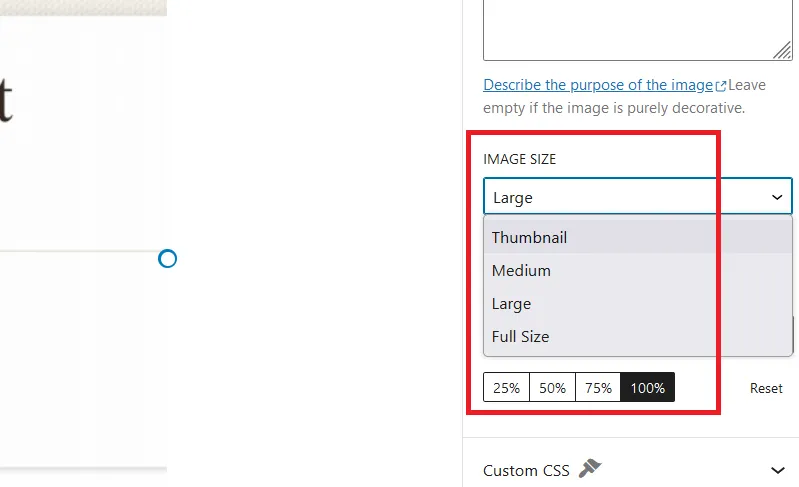
You can specify the custom dimensions in the two boxes for width and height. If it’s just a one-off image dimension, then it’s okay. But if these dimensions apply to every single image you upload to your blog, it can get very tedious. We need a new custom image size to select from the drop-down box like “Large”, “Medium” etc.
New Method: Adding a Custom Image Dimension to the Drop-Down Box
Open up your functions.php file or your custom plugin for PHP code and add the code below. If you don’t know how to add code like this, check out my tutorial on adding code snippets to WordPress. Here’s what you need to enter:
function setup_new_image_size() {
    if ( function_exists( 'add_image_size' ) ) {
        add_image_size( 'new-image', 550, 0, false );
    }
}
add_action( 'after_setup_theme', 'setup_new_image_size' );

function add_image_size_to_media($sizes){
    $custom_sizes = array(
    'new-image' => '550 Image'
    );
    return array_merge( $sizes, $custom_sizes );
}
add_filter('image_size_names_choose', 'add_image_size_to_media');
Replace the parts in bold with your desired image size and the name you want to show in the drop-down box. Save your changes. Now the next time you upload an image, you should see a new entry in the image drop-down box with your name and custom dimensions, as shown here:
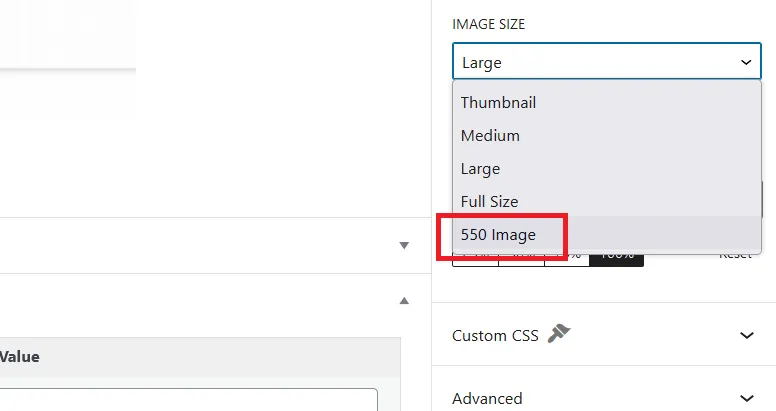
It works! Now there’s no need to constantly type in the custom dimensions for every image you upload to WordPress. Just choose your new selection, and you’re ready to go!
If you have many images on your blog and exclusively use WordPress, you can speed things up by opting for specialized WordPress hosting instead of regular shared hosting. Here are some price comparisons to help you out.
Speak Your Mind