
Update: Unfortunately, the WP-TopBar plugin has been found to contain vulnerabilities, and has been temporarily removed from the WordPress site. Check back later and see if they’ve fixed the problem. In the meantime, try the alternative “Top Bar” plugin instead.
A top bar is a great way to display persistent ads or special offers on your site without annoying your readers. Unlike regular advertisements, which are lost when your user scrolls past them, the top bar “sticks” to the top (or bottom) of your site and is always present, so it doesn’t get lost. This improves the chances of your audience noticing and clicking on it.
The real benefit? It’s great for mobile devices.
Usually, website owners have trouble displaying smartphone advertisements due to the lack of horizontal space. So all the offers in the sidebar are invisible on a responsive site. But with a top bar, we can take advantage of the relatively greater vertical space and use it to elegantly place a discreet message at the top or bottom of the screen.
So let’s see how to implement a top bar in WordPress step by step. We’ll set it up and configure some basic options – the rest is up to you to experiment with!
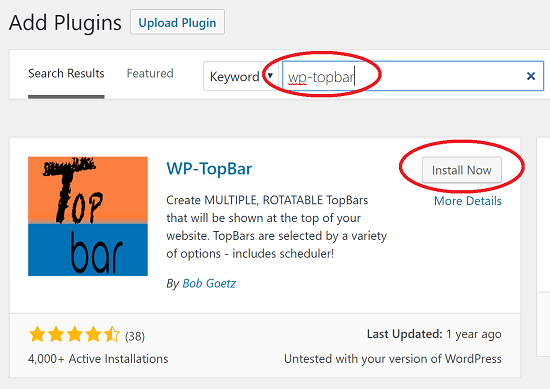
Step 1: Install the “WP-TopBar” Plugin for WordPress
WP-TopBar is one of those rare plugins that’s completely free and does a great job with complete functionality. We’ll be using it to create our top bars. Start by installing WP-TopBar from the plugin repository on your site by searching for it via the “Plugins->Add New” menu from the WordPress dashboard.
Once installed and activated, it’s time to create our first top bar!
Step 2: Copy a Sample Top Bar and Open it
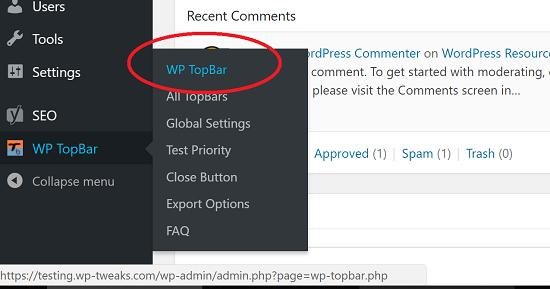
WP-TopBar comes with a few sample bars already built in. The best way to get started with a top bar is to take one of these samples and customize it. First, we find the new “WP TopBar” menu item on the left-hand side of the administration dashboard:
In the resulting options screen, click the tab labeled “Sample TopBars” as shown here:

Here you’ll see a selection of top bar styles you can choose from. Pick one that seems closest to your taste and click the “Copy Topbar” link on the left-hand side as in the screenshot above. Once that’s done, click the “All TopBars” tab on the top left. You should now see the top bar you copied as one of the options.
Right now, the bar isn’t active. To get it kickstarted, we will modify the text and link and activate it afterward.
Step 3: Customize the Message and Link
Next to each top bar in the list, there’s a drop-down box labeled “Actions”. Click it and select “Main Options”:

This opens the primary options for the selected top bar. In our case, we want to modify the text and HTML so choose the tab labeled “TopBar Text & Image” like this:
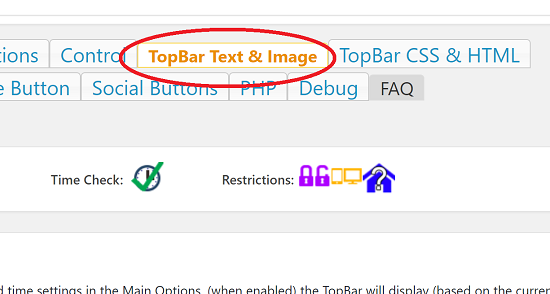
There are a lot of options here. Too many to illustrate in detail. Luckily, most of them are self-explanatory. For now, we’re going to modify the text and HTML. Scroll down the list of options until you see these two sections:
- Message
- Link Text and Link
The content of the top bar is divided into these two components, rendered separately. So for example, if you want to have a message that says:
Click here for [example.com] (link)
Then the message will be in two parts:
- “Click here for”
- [example.com] (link)
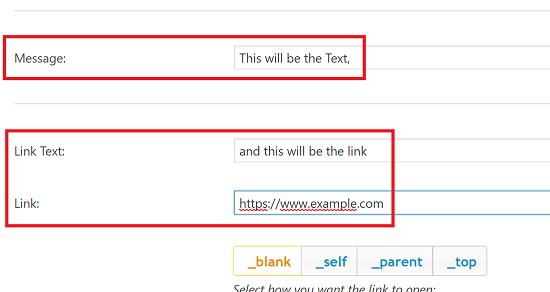
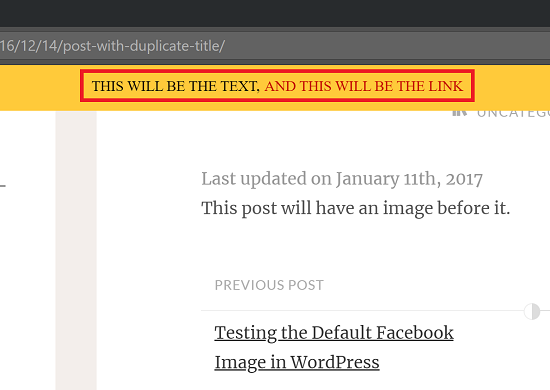
In the screenshot below, I use
- “This will be the text,” as the message
- “and this will be the link” as the anchor text
- https://www.example.com as the actual link
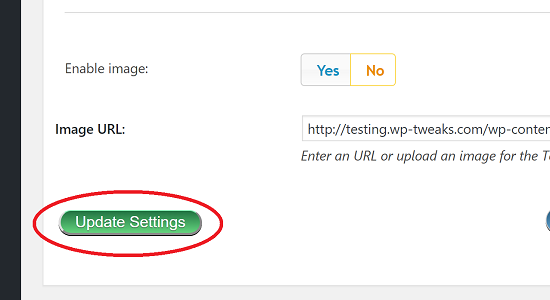
Once you’ve customized the message to read what you want, scroll down and click “Update Settings” as shown here:
When the page reloads, you can see the preview of the bar and what it’ll look like before you activate it:

Now we need to adjust the scrolling options to ensure it works how we want it to.
Step 4: Adjust the Scrolling Options
By default, the TopBar has the following defaults:
- There is an initial delay of 5 seconds before it appears
- It appears regardless of scrolling. Which means that even if your visitors don’t scroll, they will see the top bar after the delay.
For my example, I want to change both of these options. I want it to appear immediately on scroll with no delay. To do this, click the tab labeled “Main Options” and then scroll down to find the “Scroll Action” and “Start Delay” sections:

Scroll Action On/Off
When “On”, it means the top bar will display only when the user starts scrolling the screen. When that happens, it will slide in from the chosen location. By default, it’s off – meaning that no scrolling is required.
When it’s on, the “Scroll Amount” determines how much the user needs to scroll before it appears.
Start Delay
This determines how long the system waits before the top bar appears. By default, it’s set to 5 seconds. In my example, I set it to zero, meaning I want it to appear immediately.
When you’ve selected the options you want, go down and update your settings.
Step 5: Activate the Top Bar on your Site
So far, the top bar hasn’t yet been enabled on your site. At the top of the page, you should see the following message:
“TopBar” is not enabled
To enable it, click the toggle button labeled “Enable TopBar” as shown here:

And now you can test your changes on the live site! Here’s how it works in my testing environment.
And more importantly, here’s how it looks on a mobile screen:
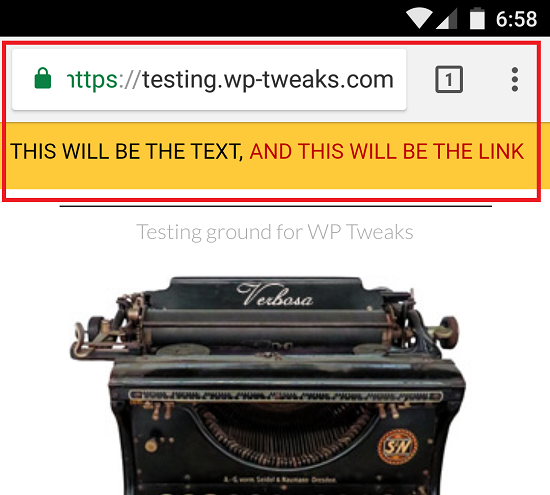
For me, this is the main benefit of the top bar. It looks very elegant on a mobile phone, thus solving the central problem of monetizing content on a tiny device.
Additional Options of Styling, CSS, and Choosing When to Show
In this tutorial, I’ve shown you how to get started with the basic options of the top bar. But I’ve barely scratched the surface. There are a ton of other options that give you excellent control over how and where the top bar is displayed, including:
- Ability to show or hide on the homepage
- Advanced CSS styling
- Choosing whether the user can “close” the top bar
- Allowing the execution of PHP
- Showing Social buttons for sharing
And much, much more. Explore around, and you’ll soon find the top bar an indispensable part of your site and a vital aspect of your marketing campaign!
Speak Your Mind