
The NameHero client area recently got an update with a snappy new interface that’s faster, cleaner, and flatter than the one before. This, along with a complete refresh of the NameHero site design itself, gives the entire service a fresh new look. The client area in particular is now easier to navigate. So here’s an update on how to accomplish the important tasks.
The Highest NameHero Discount
WP-Tweaks.com has partnered with NameHero for the highest discount – better than the one you get directly on the site. Use this code at checkout:

For the Plus, Turbo, and Business plans, use this one:
Here’s my page where you can find the best NameHero coupon, along with a complete review of what makes NameHero special, and why I recommend it.
NameHero Client Area Dashboard
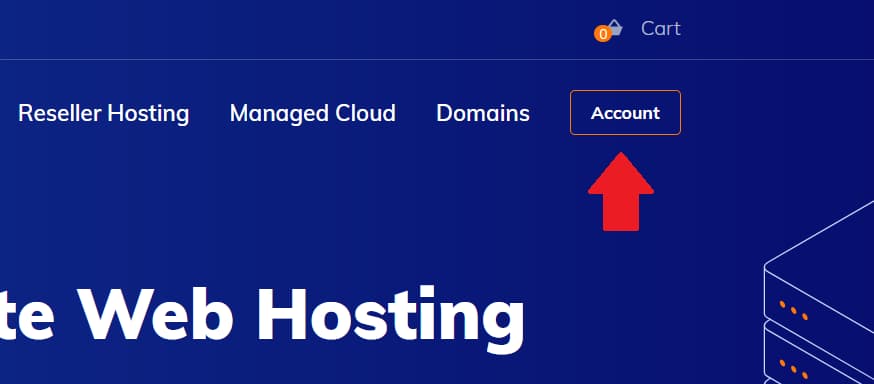
You can access the NameHero client area by clicking the “Account” button on the top-right of the NameHero website as shown in this screenshot:
This will bring you to a page where you see all your services at a glance. How many cloud services, domains, tickets, and unpaid invoices:
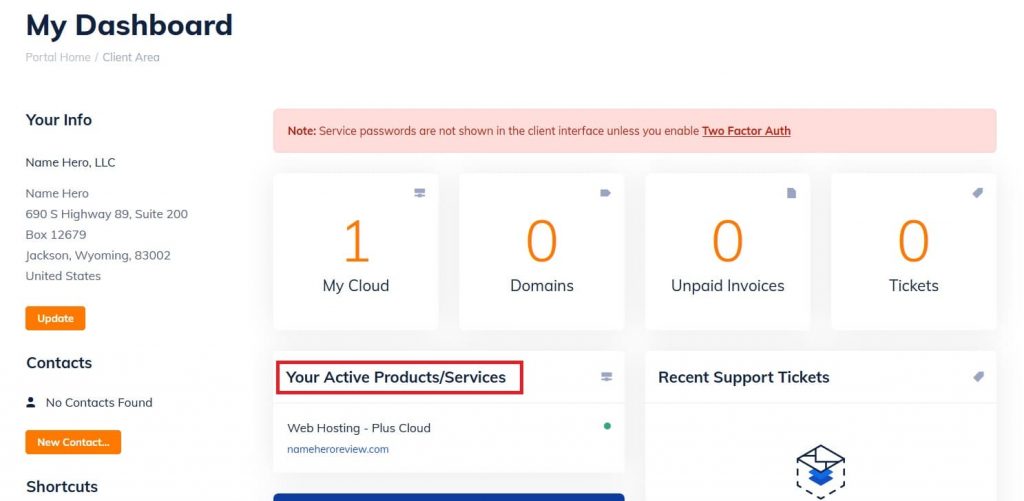
The widget highlighted above, shows you your active services. Inactive ones – for example if you haven’t upgraded a free Hero Builder package – are not displayed. On the left hand, you see your client details and some quick shortcuts for frequently used tasks.
How to Access cPanel and Webmail
The first thing you want to do when you log into your new service is to access cPanel for your cloud or VPS packages. To do this, simply click the name of the active service on your dashboard. In my case, I have just one “Web Hosting – Plus Cloud” service. So clicking that takes me to the details page:
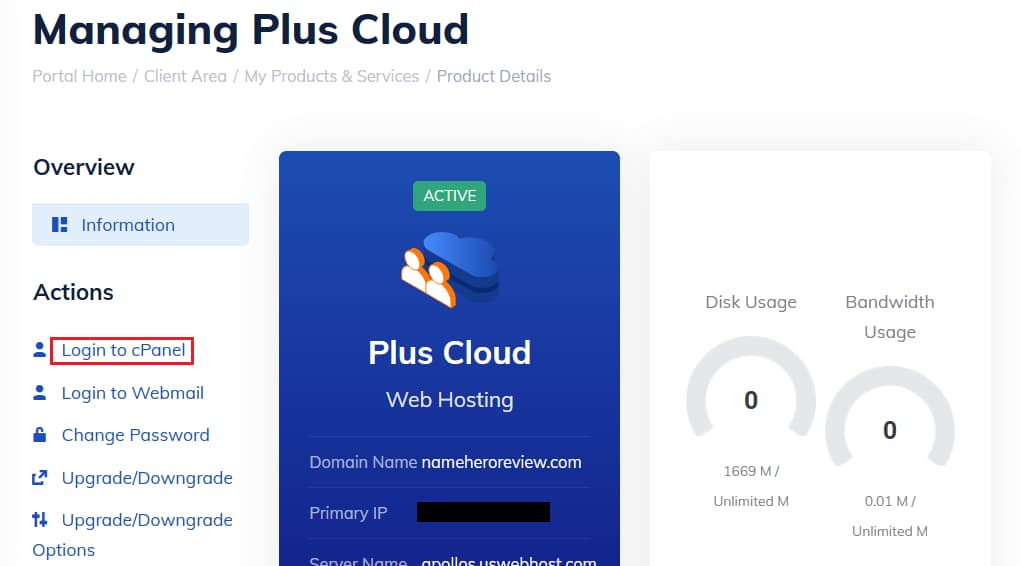
From here, you can access cPanel by clicking the “Login to cPanel” link on the right as outlined above. You can also access your Webmail, change your add-ons, or upgrade/downgrade your hosting package to something else.
Changing Add-Ons like DropMySite
With NameHero, you can configure backups on DropMySite. I heartily recommend DropMySite as a 3rd party backup service, and I use it myself. It gives you peace of mind that your files and databases are safely stored away on a separate network. Also, NameHero gives you special deals on DropMySite which are not available on their main website.
When you click the “Upgrade/Downgrade Options” link on your service details page, you can add a DropMySite plan to your existing package as shown here:
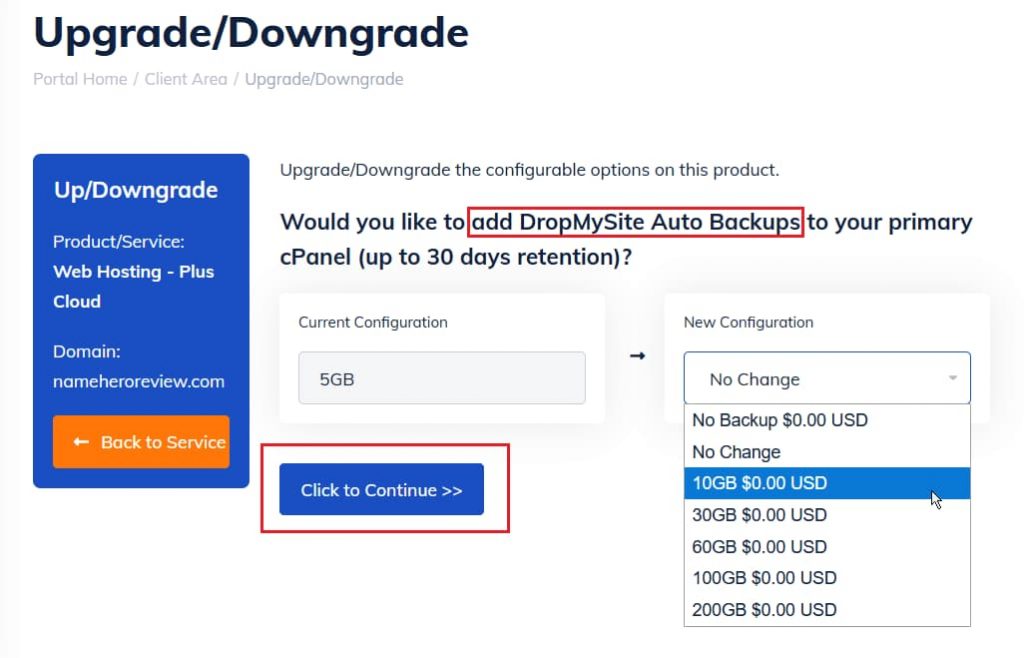
Pay no attention to the pricing in this particular screenshot. It’s a special deal from NameHero that doesn’t have the regular options!
Purchase an SSL or a Dedicated IP
The in-built Let’s Encrypt SSL that comes for free with NameHero is perfectly adequate for your hosting. These days, you need never pay for SSL. Similarly, having a dedicated IP address doesn’t do anything for your site’s performance. Perhaps it makes a difference to your mail campaigns, where you can ensure that your IP isn’t blacklisted by mail software. But that’s about it.
Nonetheless, if you want these services, they’re available from the NameHero client area. Click the “My Cloud” icon on the left sidebar and choose “View available Addons” as shown here:
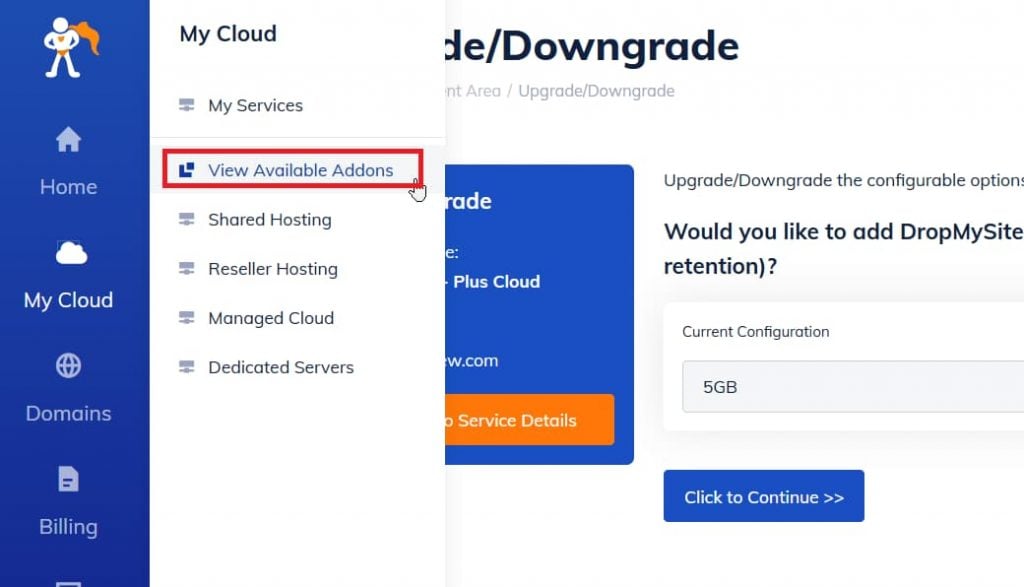
On the resulting page, you can purchase the products you want:
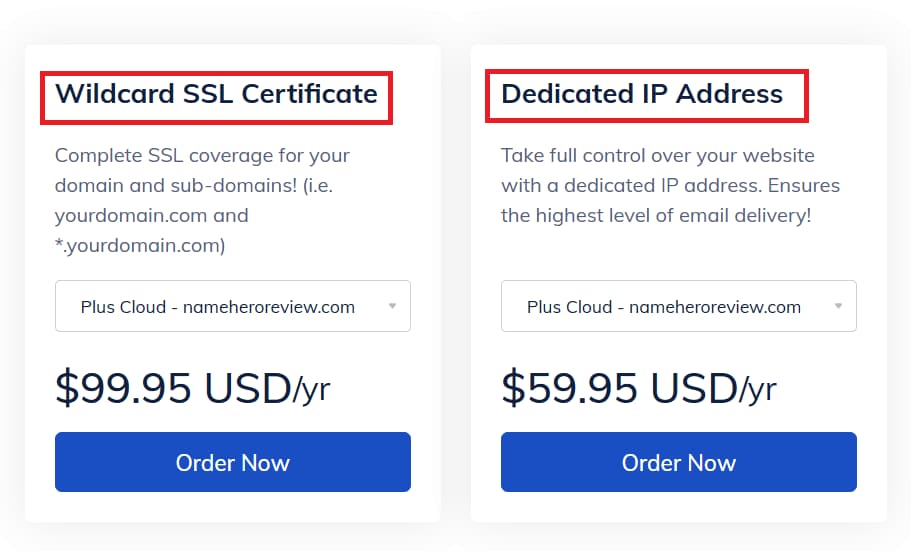
Click to place your order, make the payment, and you’re done!
Verdict: A Modern, Clean, and Fast NameHero Client Area
After playing around with the updated NameHero client area, I find myself impressed with the speed and responsiveness. The new color contrasts with the deep blue on white, make it easy to locate important functions. In fact, Ryan himself told me that it was designed from the bottom up, keeping customer experience in mind and even the color scheme was selected based on feedback and data.
So enjoy the new experience!
Speak Your Mind