
When you buy a VPS server, you can access it with an IP address. This tutorial will show you how to access the server with a domain name instead. While this example uses Bluehost as a registrar, you can adapt the instructions to any registrar like GoDaddy or Namecheap.
Table of Contents
Setup: Domain Points to Something Else
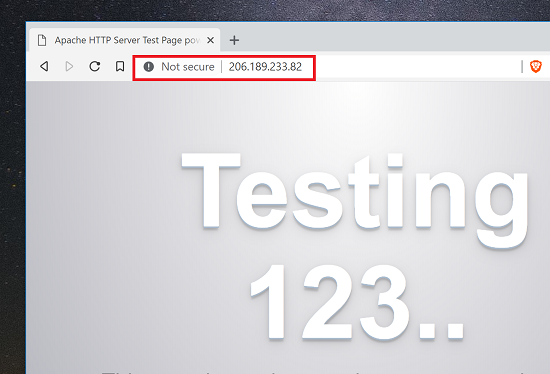
Say you have a DigitalOcean VPS and an IP address to access it. For example, I’ve just set up Apache on a server with the IP address:
206.189.233.82
I can access it in the browser via the IP like this:
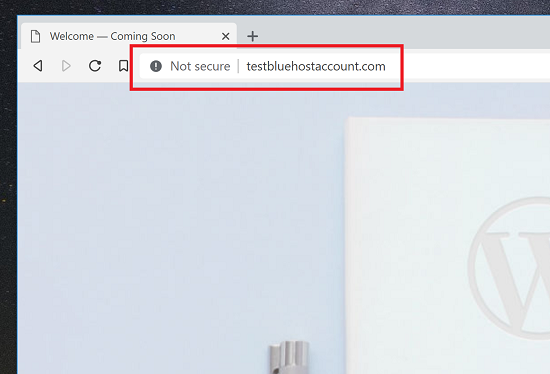
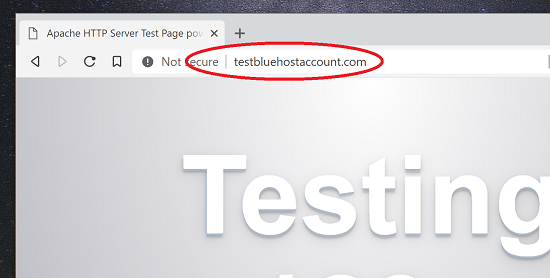
For this example article, I have a domain name with Bluehost, which comes free with every plan – here’s the best Bluehost discount for hosting. Currently, the domain is “testbluehostaccount.com” and it points to a WordPress installation on Bluehost’s servers:
In this situation, I have:
- VPS Hosting with DigitalOcean – IP address 206.189.233.82
- Domain hosting with Bluehost as the domain registrar
I want to point the domain “testbluehostaccount.com” to my VPS server at DigitalOcean.
Steps to Point a Domain to Your VPS IP Address
Here’s a step-by-step tutorial on how to do it.
1: Find the Zone Editor with your Domain Registrar
First, log into your domain registrar’s dashboard. This will be different for each registrar. GoDaddy, Namecheap, etc., all have their own interfaces. But they should be pretty easy to find. Most of them have a “Domains” section, under which they keep the zone editor.
For Bluehost, well, you can find it under “Domains” like this:

This will take you to the page where you can choose which domain you want to edit. If you have just one domain (like I do), there’ll be just one choice in the dropdown box:
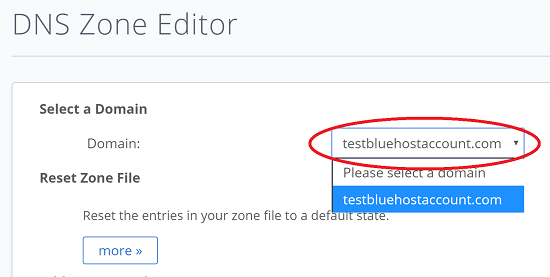
Choose the domain that you want to point to your VPS.
2: Edit the Zone File Records
We need to change the “A” record in the zone file editor to point the domain to our VPS. The settings are:
- Host Record Name: @, or the domain name itself
- Record Type: A
- Points to: 206.189.233.82 (or your VPS IP)
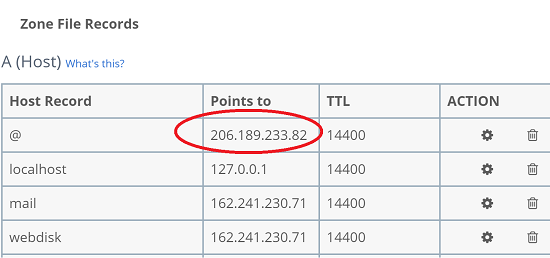
You probably already have a record in your zone file editor pointing the domain to some other IP address like this:
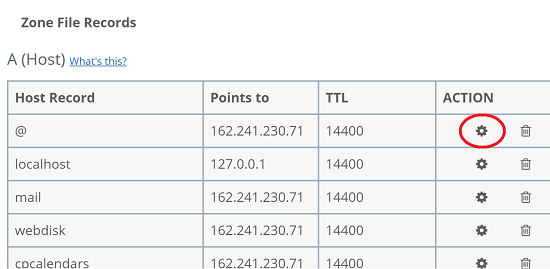
Don’t create a new zone record! Modify the existing one instead. As you can see with Bluehost, you can click the gear icon on the right-hand side to edit it. The “@” is a wildcard for the domain name itself. Most hosts support it, and it’s easy to remember. Enter the IP address of your new VPS server instead, and save your changes:
What About the Other DNS A Records?
A DNS zone file will likely contain many other records, not just one “A” record. The others are for specific subdomains. If you want each of these subdomains to point to your VPS server, change the IP address for each. A few common subdomains are:
- webdisk
- ftp
- etc etc..
The “CNAME” records are alias records, and they tell the DNS server which names are equivalent. So the “www” CNAME entry points to the domain name itself, and so on. You shouldn’t need to change CNAME records unless you know what you’re doing.
3: Verifying that the Zone Record Has Changed
Once you’ve saved your new IP address in the zone record, you can verify that it’s changed on that particular name server like this.
Get the Nameservers of your Registrar
Your registrar will typically have two nameservers. With Bluehost, you can get the details by clicking “Domains”, and then choosing the “name servers” tab, as shown here:
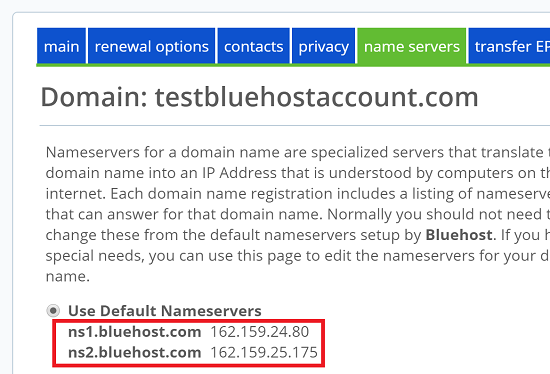
The two name servers for Bluehost are:
- ns1.bluehost.com
- ns2.bluehost.com
These will be different for each domain registrar.
4: Verify the Modified “A” Record
In Windows, open the command line and enter the following:
nslookup [your_domain_name] [nameserver]
So for me, the command looks like this:
nslookup testbluehostaccount.com ns1.bluehost.com
If you’ve changed the records correctly, the output should tell you that your domain is now pointing to the VPS IP address, as shown here:
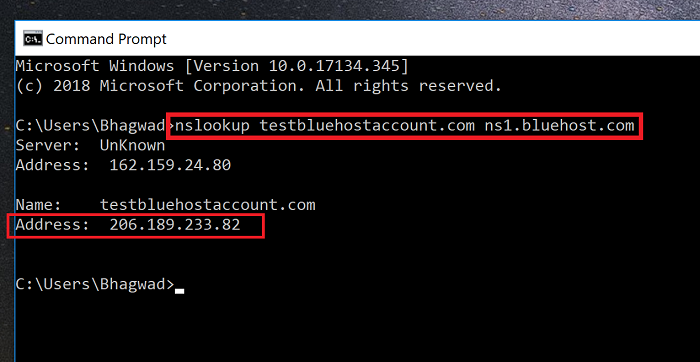
Your work is done.
5: Waiting for the Changes to Propagate
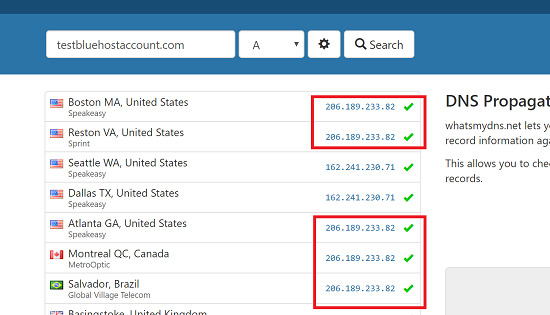
Unfortunately, you might still be unable to access your VPS with the domain name immediately. DNS changes take time to propagate to all the other DNS servers worldwide. With this tool, you can track the propagation status of DNS servers worldwide.
As you can see below, some servers have received the new IP address, and others have not:
If your browser or machine queries a DNS server that has been updated, you’ll see the new site when you type in your domain name like this:
Keep in mind that some browsers, routers, and even ISPs cache DNS queries, and this can make it difficult to get updated results. There’s not much you can do other than be patient.
Do I Buy SSL from my Hosting Provider or the Domain Registrar?
You should be able to get free SSL from your hosting service. These days, no one needs to pay for SSL anymore, and SiteGround, Bluehost, and Hostgator all provide free Let’s Encrypt certificates. All except GoDaddy!
And that’s it. You’ve successfully modified your DNS zone records to point a domain name at your VPS server, and now you can access it by typing in your domain name instead of with an IP address!
Speak Your Mind