
Now that you’ve purchased web hosting, it’s time to build your site! For this, we’re going to use “WordPress”. It’s an application that powers more than 30% of all websites. WordPress allows you to create web pages, navigation menus, and a blog. This tutorial will explain how to install WordPress on a domain immediately after you’ve bought a hosting package.
Table of Contents
Step 1: Make Sure that SSL is Installed on your Domain
In the previous article on web hosting for beginners, I explained that SSL is the ability to access your site with “https://” instead of “http://”. It’s critically important that you have this enabled. Luckily, you most probably don’t need to buy SSL separately.
If you use Cloudflare, you might get errors when proxying. Here’s how to fix cPanel AutoSSL errors with Cloudflare.
Step 2: Log into your Web Hosting Panel
When you buy web hosting, you gain access to an administration interface called “cPanel”. It’s where you install WordPress. When you signed up for web hosting, you received a username and password in your e-mail. These are used for logging into cPanel. Use one of these links to access the cPanel administration backend and enter the username/password.
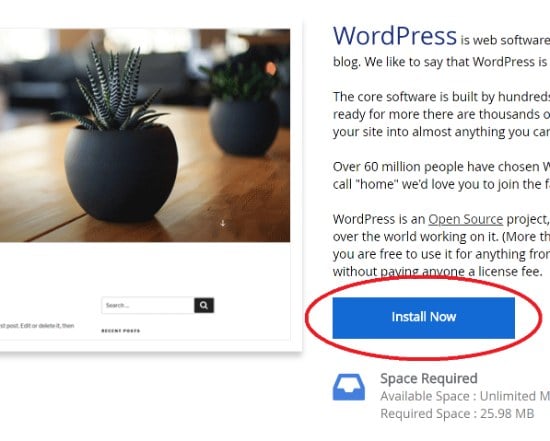
Once you’re in cPanel, scroll down to the panel labeled “Softaculous Apps Installer” and click “WordPress,” as shown here:
Click “Install Now”.
Let’s configure the installation.
Step 3: Choose the Location for WordPress
This screen is where we provide all the essential details for WordPress. If you’ve made sure that SSL is enabled in Step 1, then select “https://” from the “Choose Protocol” drop-down box as shown here:
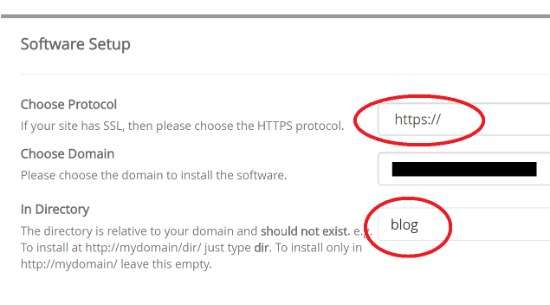
Also, choose the website onto which you want to install WordPress. This will most likely be the domain name you signed up with. The location of WordPress is usually just your site name. Typically, you want people to access your site by typing in the domain name like this:
https://www.example.com
Sometimes, however, you may want it to be accessible like this, for example:
https://www.example.com/blog
In this case, you need to specify the directory, as shown in the image above.
WordPress will now be accessible from this location. Leave it blank if you don’t want anything fancy.
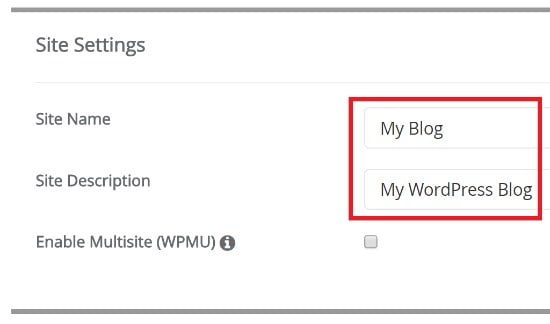
Step 4: Choose the Site Name and Description
Here, you can choose what to call your site and give it a description. This will appear in most themes and the Google search results after your page title. So make it catchy and accurate!
Step 5: Choose the Username and Password for WordPress
Like cPanel, WordPress requires a username and password to log in to the administration area. This is protected from the public. From this dashboard, you will create pages, sort them, and create menus, sidebars, and all the other components of a regular site.
So next, we create the credentials to log into the WordPress dashboard. Choose a suitable username and password. To help you choose a strong password, I suggest you use the random password generator as shown here:
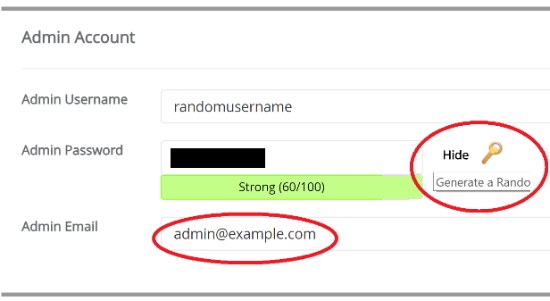
Copy the generated password into a safe place and choose an appropriate username for yourself. Don’t use the default “admin”, since it’s insecure, and try something else. Also, enter an e-mail address for your user.
Step 6: Choose a Starter Theme
WordPress lets you choose your site’s general look and feel via something called “Themes”. You can change themes whenever you want from inside WordPress with the click of a button. The Softaculous app, however, allows you to choose a starter theme during the installation set up like this:
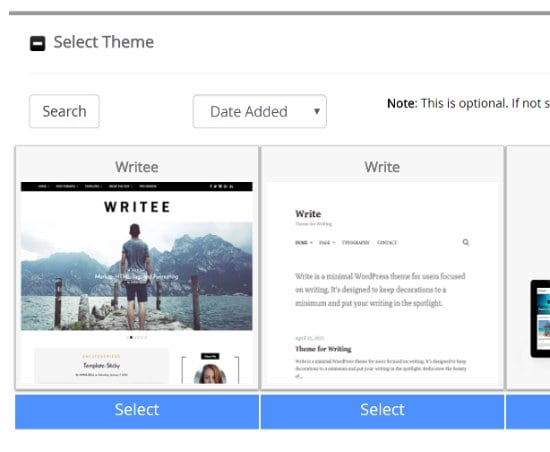
Choose a theme that suits you. But don’t worry – you haven’t committed yourself to anything and can change this at any time.
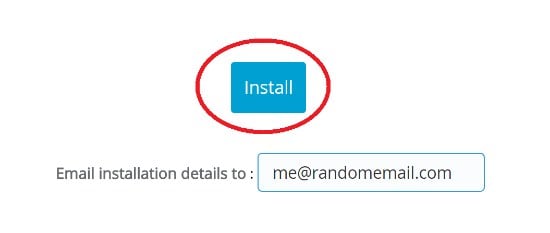
Step 7: Start the Installation
Now you’ve provided all the necessary information to install WordPress. Enter an e-mail ID to which the installation details will be sent. Click the “Install” button here to start the process:
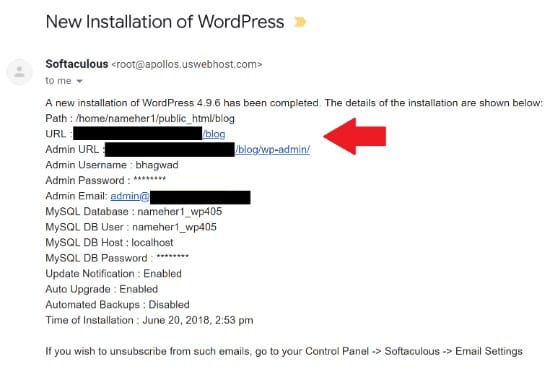
This will install WordPress at your chosen location. It’ll display a message indicating its progress. When done, the script will send you an e-mail to the address specified in the previous step. This e-mail will contain your credentials (not the password) as well as the URL to log into the administration backend of WordPress, as shown here:
And now, it’s time to log into WordPress for the first time!
Step 8: Log into WordPress
As shown in the above e-mail, the installation sends you the administration login URL in an e-mail. This takes the form of:
https://www.example.com/wp-admin
Since it’s the first time that you’re logging in, it asks you to specify the username and password you selected in Step 3:
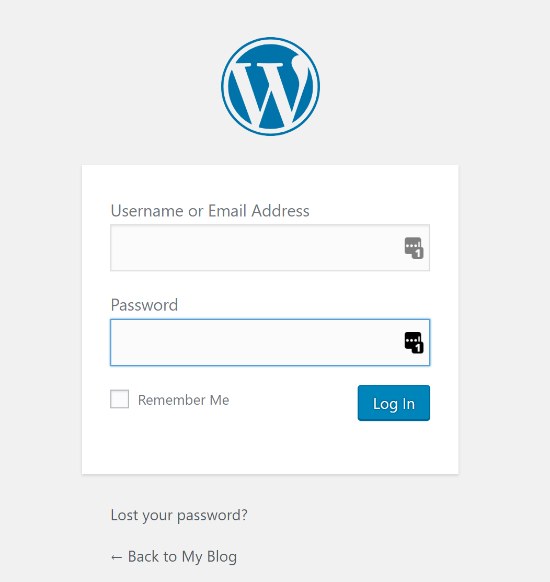
If all goes well, it should log into WordPress. Congratulations- you’re now ready to start creating your site!
What Next?
Now you start building your site. Here are some things you’ll have to do:
- Choose a new theme to decide how your site looks
- Create a “homepage” or a “landing page” that your visitors will see when they visit
- Create a navigation menu so that users can access all parts of your site equally
- Choose sidebar widgets to show your users special information, related posts, etc.
- Add a blog where you keep publishing new and exciting information to your site.
Speak Your Mind